Mastering the 3D Deer Cabin Lantern Laser Cut File for Flawless Results
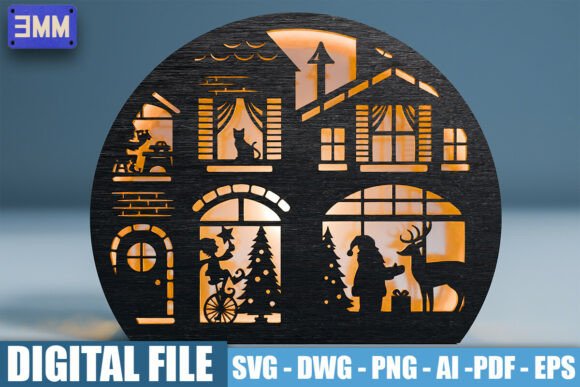
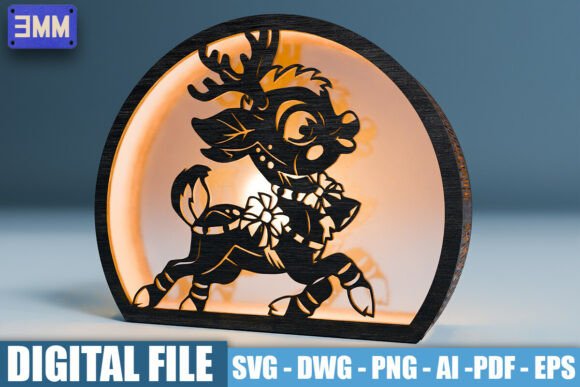
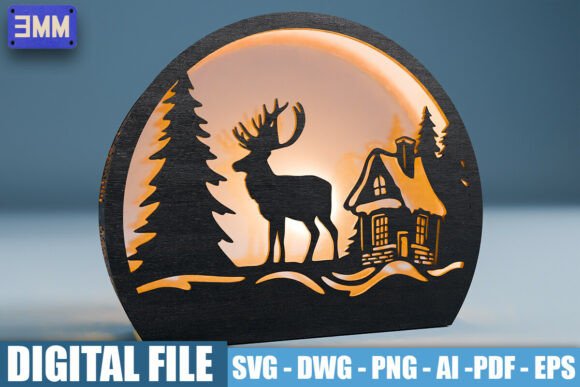
There is a distinct satisfaction in watching a flat sheet of wood transform into a glowing, three-dimensional scene. The 3D Deer Cabin Lantern Laser Cut File has become a favorite among makers because it combines intricate storytelling with functional decor. This digital download provides everything needed to craft a serene winter tableau, featuring a majestic stag, a snow-dusted cabin, and towering pine trees. However, possessing the file is only half the battle. Many crafters rush into production without fully understanding the nuances of multi-layered assembly, leading to frustration and wasted material.
To help you achieve that perfect rustic glow, it is essential to look beyond the preview images and understand the technical realities of working with layered vector designs. By avoiding common pitfalls regarding material selection, machine calibration, and file preparation, you can ensure your final piece is not just a project, but a polished work of art suitable for holiday gifts or year-round display.
Understanding Material Thickness and Tolerance
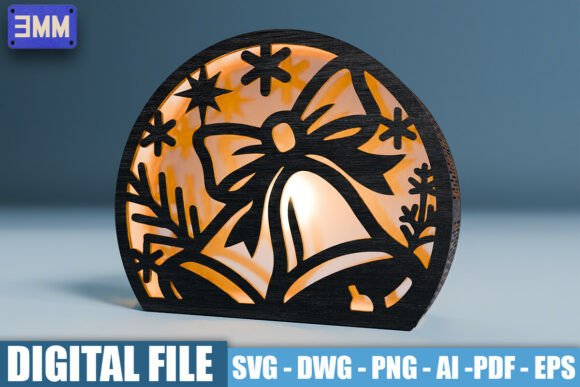
One of the most frequent errors beginners make is ignoring the specific material requirements listed in the design specifications. This particular lantern design is optimized for 3mm material thickness, as clearly indicated by the "3MM" label in the preview images. Using material that is even slightly thicker or thinner can disrupt the entire structural integrity of the lantern.
If your wood is too thick, the tabs and slots designed for assembly will not fit together. You might find yourself forcing pieces, which leads to cracked layers or misaligned shadows. Conversely, if the material is too thin, the lantern will feel flimsy, and the gaps between layers will be too wide, ruining the depth effect of the shadow box. Always measure your actual stock with calipers before loading the file into your software. Do not rely on the nominal thickness printed on the package, as manufacturing variances are common.
A better approach is to perform a test cut on a small scrap piece of your intended material. Check the fit of a complex joint or a tight curve. If the fit is snug but not forced, you are ready to proceed. If it is too tight, adjust your kerf compensation settings in your laser software. This small step saves hours of sanding and gluing later.
Navigating File Formats and Software Compatibility
The package includes a variety of formats: SVG, DWG, PNG, AI, PDF, and EPS. While this variety is helpful, it often causes confusion for users who do not know which file serves which purpose. A common mistake is attempting to use the PNG file for cutting. Since PNG is a raster image, it lacks the vector paths necessary for clean cuts. Using it will result in jagged edges and excessive burning.
For most hobbyists using machines like Glowforge, xTool, or Universal Laser, the SVG file is the gold standard. It ensures clean, precise cuts and maintains the separation between cut lines and engrave areas. Professionals using CAD software may prefer the DWG format for its compatibility with industrial workflows. Meanwhile, the AI and EPS files are best reserved for those who wish to customize the design. If you want to resize the lantern or modify the deer’s position, these editable vector files allow you to make changes without losing resolution.
Before sending any job to the laser, open the file in your preferred editor and inspect the layers. Ensure that cut lines are distinct from engrave lines. Some software imports colors differently, so verify that your power and speed settings correspond to the correct vector paths. Misassigning a cut line as an engrave line can result in a piece that never separates from the sheet, while treating an engrave line as a cut can burn unnecessary holes into your delicate scenery.
The Importance of Grain Direction and Layer Orientation
In multi-layered projects like the deer cabin lantern, the visual impact relies heavily on how light passes through the gaps. A subtle but critical detail is the grain direction of the wood. Many creators overlook this, placing layers randomly. However, aligning the grain horizontally across all layers creates a cohesive look, while mixing directions can look chaotic under illumination.
Furthermore, consider the order of assembly. The design features a rounded shape that creates a stunning illuminated shadow box effect. To maintain this curvature, each layer must be aligned perfectly. A common oversight is failing to mark the orientation of each piece during cutting. Once the pieces are removed from the honeycomb bed, it can be difficult to tell which side is up or which rotation is correct.
To avoid this, use masking tape on the back of your material before cutting. Mark the top edge clearly. This simple habit ensures that when you begin assembling, every tree and cabin wall faces the correct direction. It also protects the front surface from glue stains during assembly.
Lighting and Assembly Considerations
The ultimate goal of this project is a warm, tranquil glow. Yet, many builders choose the wrong light source after spending hours on construction. Standard white LED bulbs can make the winter scene look cold and clinical. Instead, opt for warm-white fairy lights or a dedicated LED puck light with a dimmer. This enhances the cozy atmosphere of the cabin and the majestic presence of the stag.
During assembly, resist the urge to use excessive adhesive. Wood expands and contracts with humidity changes. Using too much superglue can cause white residue fogging on the visible surfaces, which is nearly impossible to remove without damaging the wood. Use small dots of wood glue or clear-drying craft adhesive, and clamp or weight the layers gently while they dry. Patience here ensures a clean, professional finish that highlights the intricate details rather than distracting from them.
By paying attention to these technical details—material tolerance, file selection, grain orientation, and lighting choices—you elevate your project from a simple craft activity to a high-quality decorative piece. The 3D Deer Cabin Lantern Laser Cut File is designed to be user-friendly, but it rewards those who take the time to prepare properly. Whether you are creating this for your own home or selling it at a local market, these practices ensure consistency and quality in every build.
Remember, the beauty of laser cutting lies in precision. Take the time to read the included instructions, check your machine settings, and respect the material. With the right approach, you will create a unique piece of nature-inspired art that captures the serenity of a winter night, bringing a rustic charm to any space it inhabits.